So, I decided to build my own.
Easier said then done. Luckily I am not a total tool.
I looked around for designs and features that I would like.
Eventually I designed a table to my liking. In the following posts I will detail how I built my table.
The table is made out of a base out of cheap timber wood and a top of more expensive hardwood.
For the bottom support and the legs, I decided to use raw pine wood. This is very cheap to get at your local DIY store. The dimensions are 19mm thick and 100mm wide, the length is dependend on the support and legs. The bottom plate is 2 pieces of plywood measuring 1.22m by 1.00m.
In total my table will be 1.22m wide and 2.00m long. The support is 25cm shorter on each side to accomodate for drawers.
Lets start building.

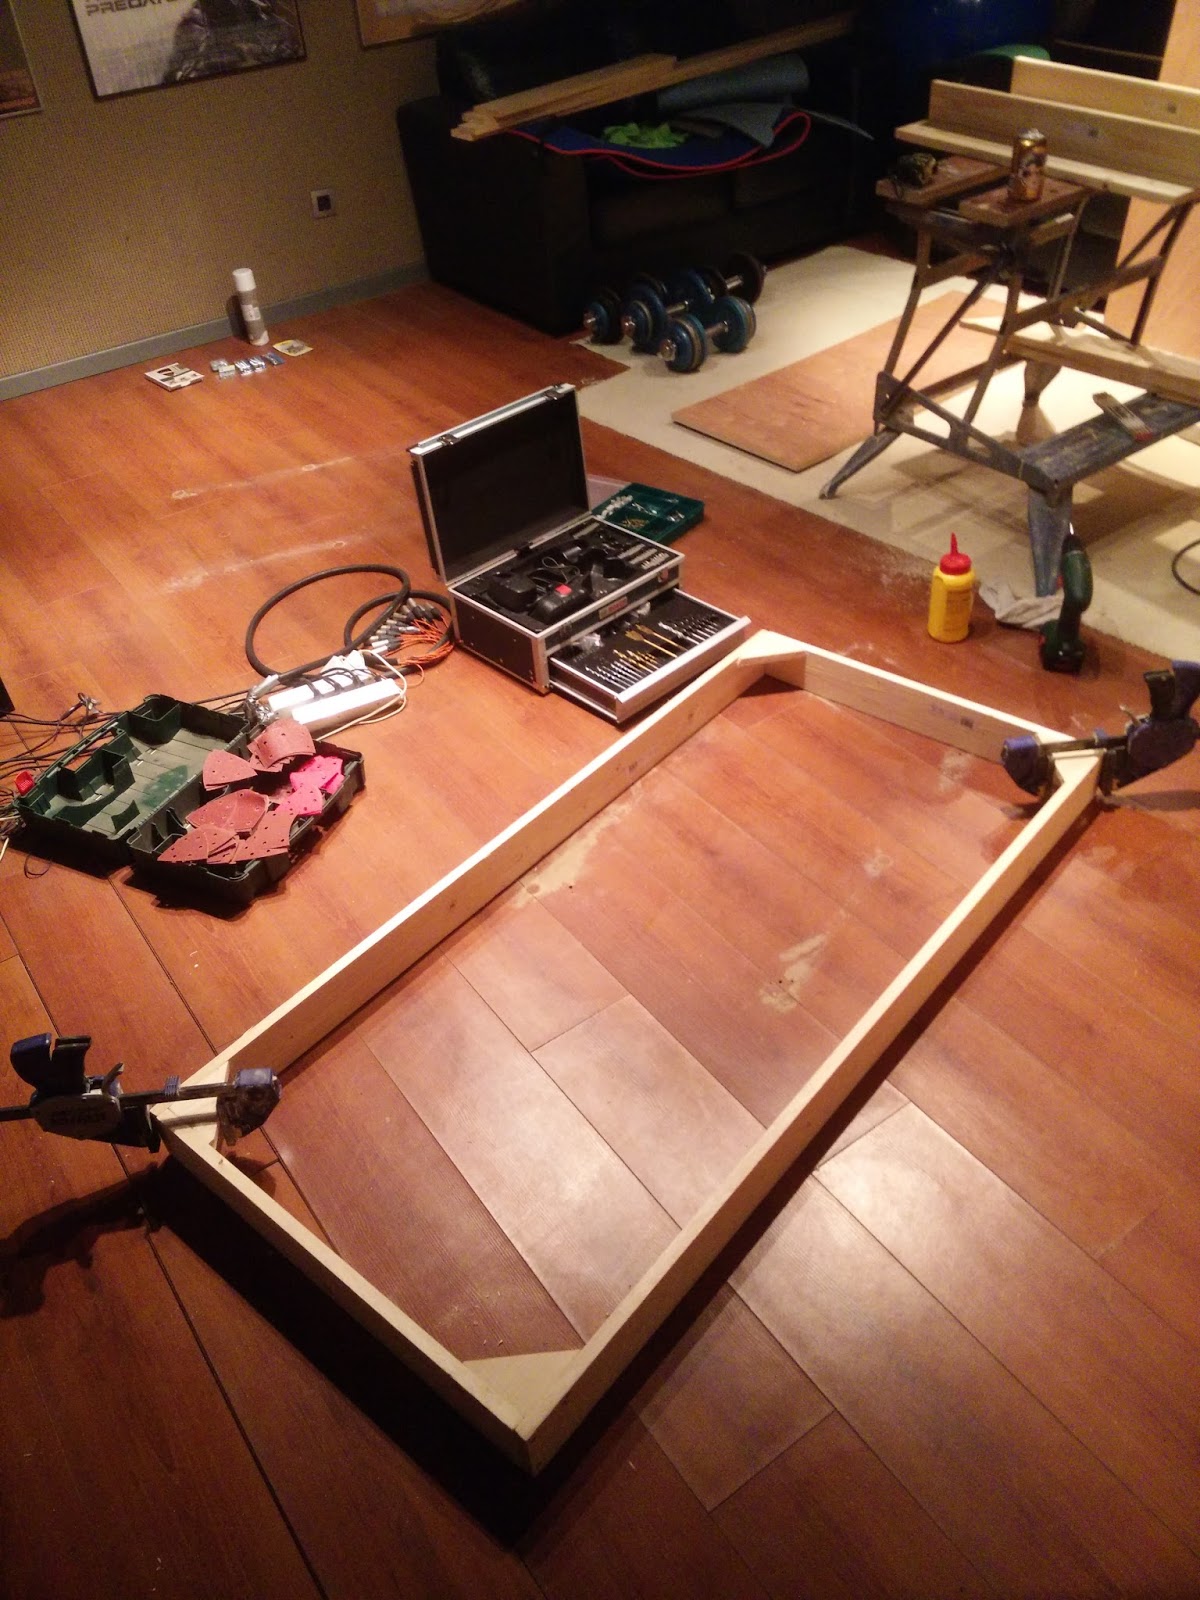


The legs are made of two pieces glued together at a 90 angle with a support in the middle to ensure the 90 angle.


In the next post I will be attaching the bottom plate and installing the upright sides,
No comments:
Post a Comment